Paul C Buff is a company that is known for their affordability and reliability. I have several of their soft boxes, strip boxes, and other modifiers, and I have to admit that I am always surprised with the overall build quality for the low price tag. But I picked up their 22” beauty dish recently, and had a small issue that I couldn’t get over.
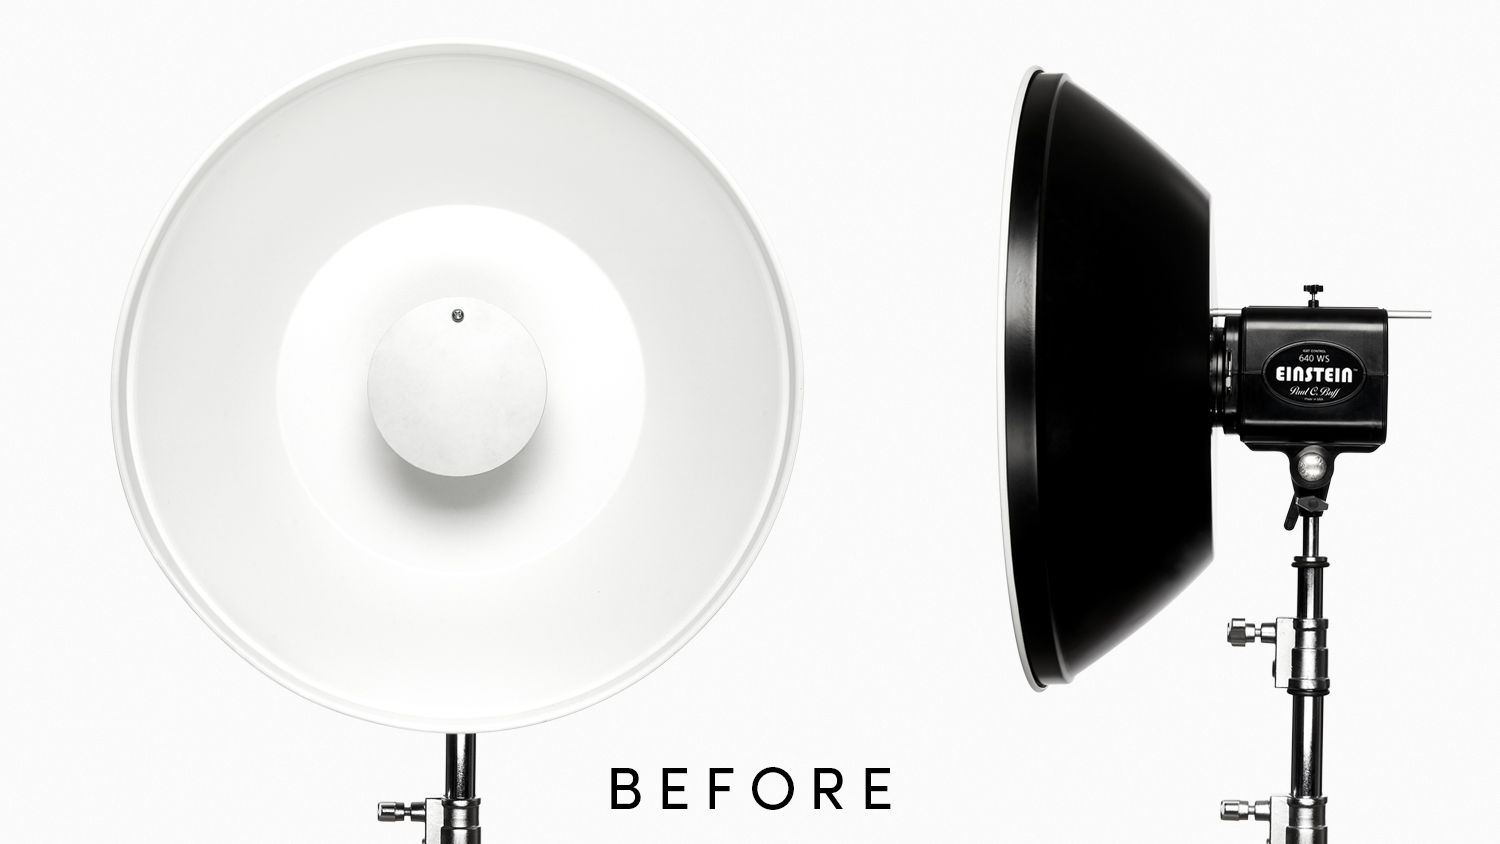
This beauty dish operates as two separate pieces. The dish, and the bounce disk. The dish is mounted directly to the face of the flash unit, and the bounce disk is inserted through the dish and into the umbrella slot, via a rod that is attached by a screw. This is called the Light Blocker Assembly.

My first guess was that the assembly was designed as a way to cut corners. BUT, I remembered that older PCB flash units such as White Lightning’s and AlienBee’s have larger modeling lamps than the Einstein’s. So, this design might have been the most simple solution to ensure that the dish remains a universal modifier across PCB's entire range of flash units.
None the less, storing the dish became a pain. There only seemed to be two choices.
1. Keep the bounce disk assembled, and leave it noisily bouncing around inside the dish and half sticking out
2. Disassemble this bounce disk, and risk losing one of the pieces
Either way I was a little frustrated, and I knew the solution would be simple. I’ll bolt the disk to the dish! Luckily my friend's father who is a contractor lent me his workshop, his drill press, and a little help. A drill press isn't needed, this could easily be done with a hand held drill.
The first step is to drill two additional, evenly spaced holes into the bounce disk. Here is what that process looks like:

Step 1: Draw two perpendicular lines through the diameter of the disk, to locate the center.
Step 2: Break out the protractor, and find 120º from the center line. Draw a new line to the edge of the disk. Repeat on opposite side.
Step 3: Measure the distance from the center of the disk, to the center of the original hole.
Step 4: Measure the same distance on the first angled line. Mark and drill.
Step 5: Repeat Step 4 on the second angled line.

Important Detail
My first intention was to measure the thickness of the original hole in the bounce disk, then drill two holes the same size, and find 3 bolts that will fit. Home Depot has a handy thread sizing gauge to help determine the correct size bolt. The original screw has a thread of #12-24 coarse. I knew that I needed a bolt roughly 4” or longer, as this length would fit over the modeling lamps of new and old PCB flash units. But of course, I couldn’t find any bolts in #12-24 longer than 3”.
So! I opted to widen the original hole to ¼" because those bolts came in a variety of lengths. I picked ¼-20 bolts, you can pick whatever thickness or thread you like. Anyway, each whole was drilled at a ¼”.
I had a little bit of trouble feeding the ¼-20 bolt through the freshly drilled hole, so we busted out the machinist’s bits. We then widened the holes with a 17/64th’s bit. If you don’t have any machinists in the family, just wobble the drill bit when you drill the holes to make them a bit wider.
Still awake? Hang in there!

The parts list is incredibly simple.
-Six ¼" Washers
-Six ¼" Hex Nuts
-Three 4"x¼" Bolts
-Three ¼" Cap Nuts
(one optional washer that I'll explain later)
Now, transfer the holes you just drilled from the disk, onto the dish. You will notice that the original hole in the dish for the rod is much bigger than the holes you’ve just drilled. This is where the bonus washer comes in. The original hole has a 5/8” diameter. I found a washer that had a ¼” hole (to accommodate the bolts) with a 5/8” diameter (to make up the gap). Not only will this fill up the space, but it will center the bolt. Make sure that the thickness of the washer doesn’t exceed the thickness of the dish, or your bounce disk won’t be level.

REAR
Step 1: Drill the additional holes.
Step 2: Place ¼” washers over all three holes
Step 3: Feed the 4” Bolts through the holes
FRONT
Step 1: Flip over
*Optional*: Add the bonus washer. I colored the washer in sharpie to help make it easier to see in the photo
Step 2: Add the second set of ¼” washers to all three bolts
Step 3: Tighten down with three hex nuts
Step 4: Your bounce disk will sit on the next three hex nuts. The best way to ensure the hex nuts are threaded on the same distance, is to thread them farther down than you will need, and then temporarily thread on the cap nuts as far as they will go. Because each cap nut has a limited thread, you can now thread back the hex nuts until they touch the bottom of the cap nuts. And Voilà, your hex nuts are threaded the exact same distance. Take off the cap nuts.
Step 5: Put each bolt through the holes of the bounce disk.
Step 6: Tighten Cap nuts.
DONE!
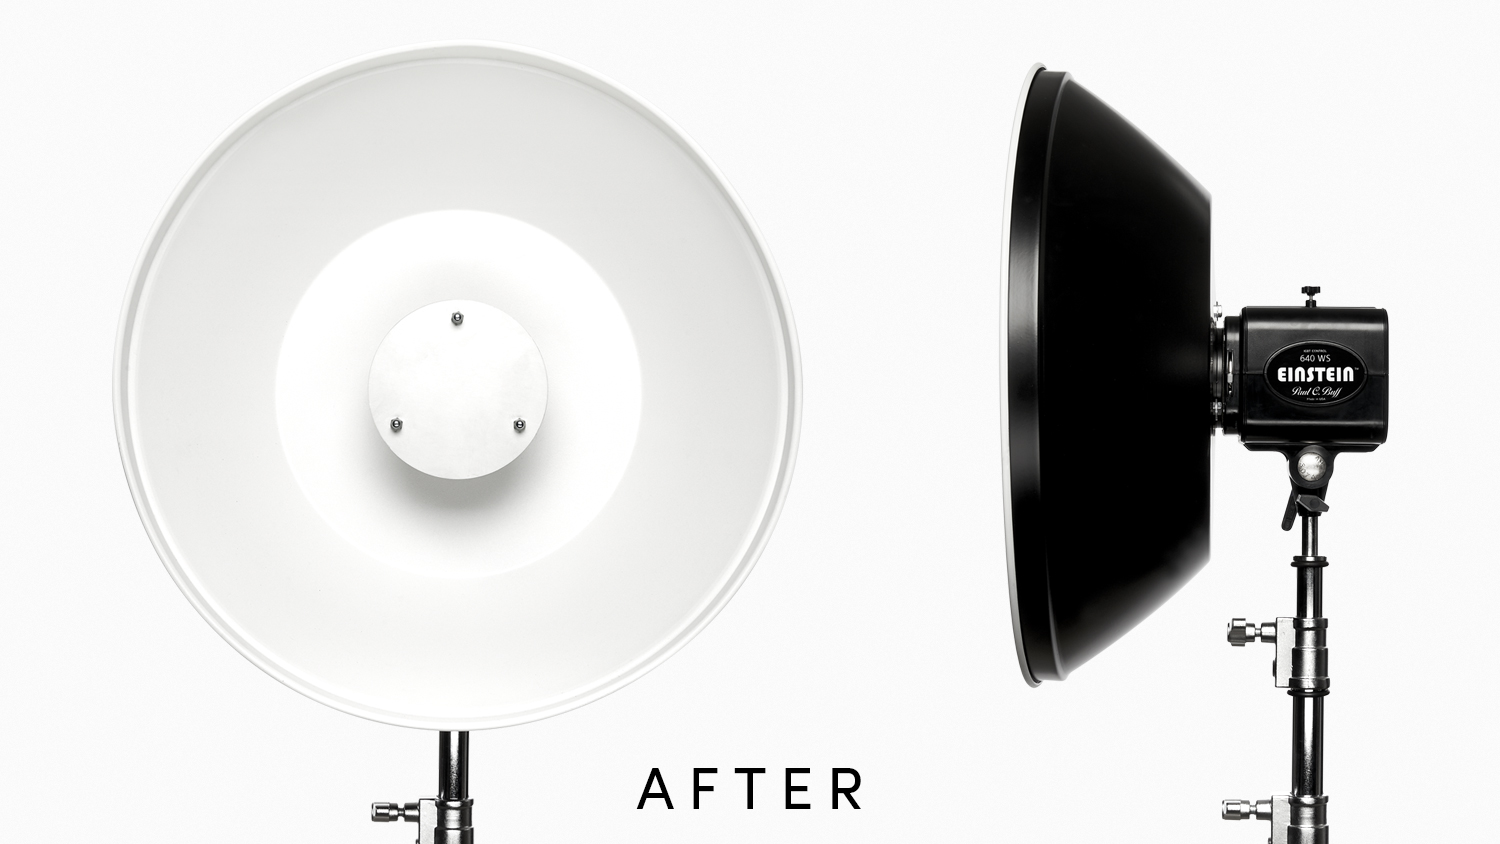
As you can see, the awkward rod poking out of the back of the umbrella shaft is gone! We now have a unified beauty dish.

Not too shabby! I chose the 4" long bolts because I knew that this length would fit over any size modeling lamp in the Paul C Buff line. If you want, you could make it longer or shorter to suit your taste.

All in all, this was an incredibly quick project! It took me longer to write this blog post than it did to drill a few holes and piece it all together. I hope that this post will help a few of my fellow Einstein users improve their workflow while shooting, or at least pack their kit a little easier.